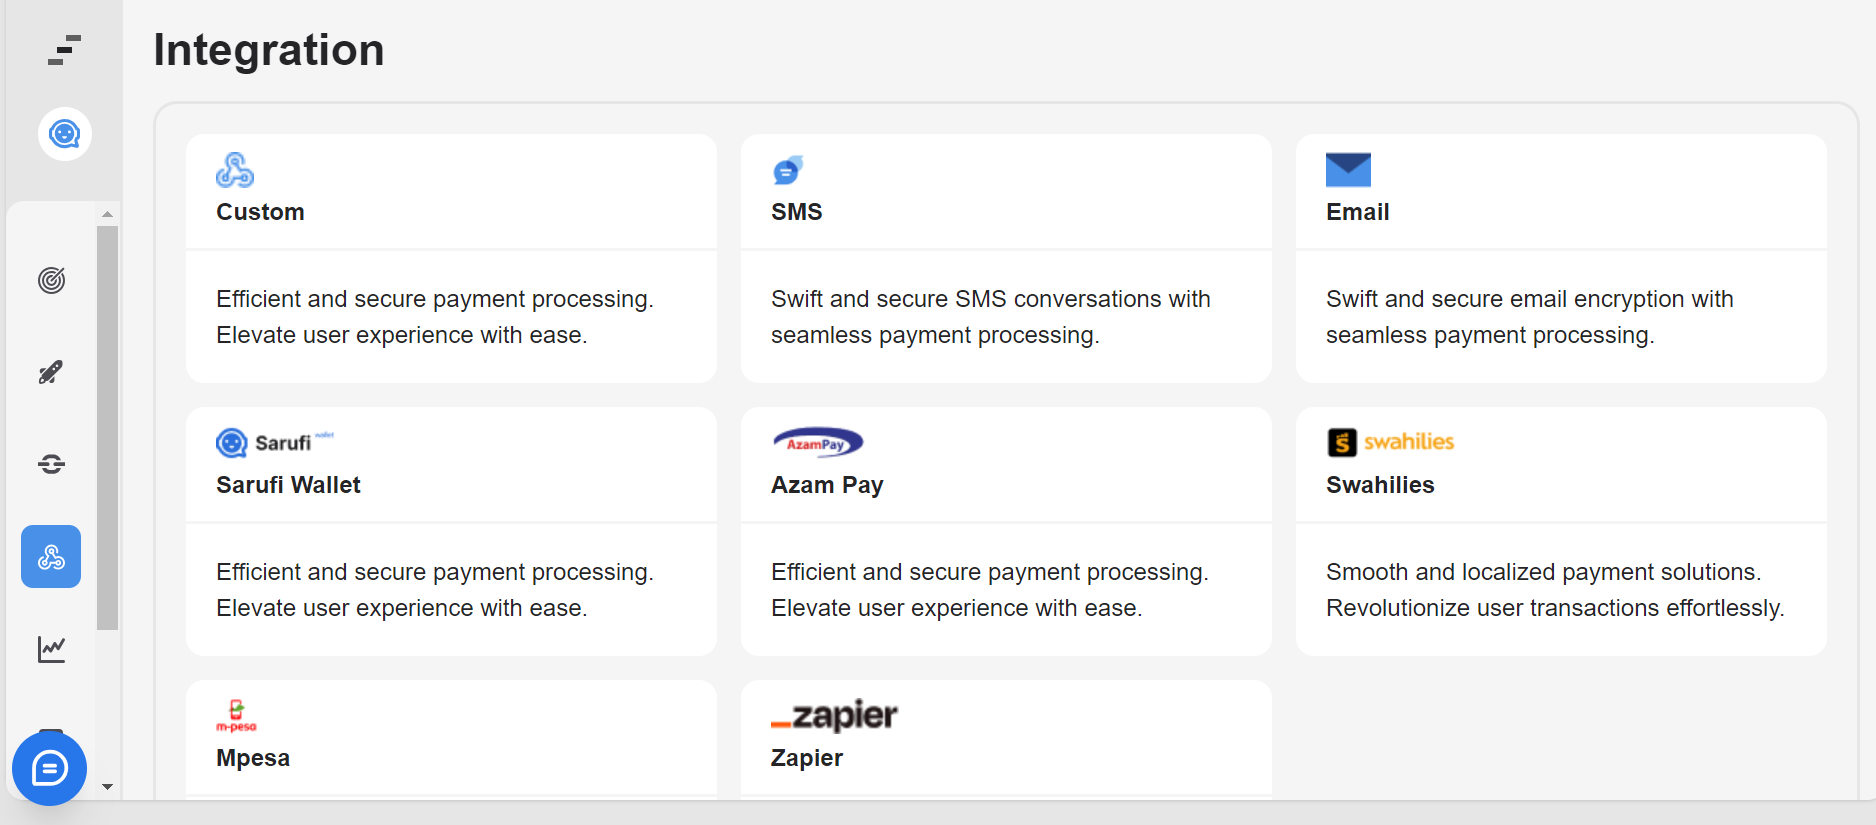
AzamPay integration
AzamPay integration enables your chatbot to process payments seamlessly through AzamPay's secure payment gateway. It allows your chatbot to initiate and complete payment transactions based on user actions. With this integration, you can offer your users a convenient way to make payments directly within the chatbot interface.
AzamPay
AzamPay is an East African company specializing in end-to-end online payment solutions. They offer a range of digital tools designed to:
- Streamline payment and collection processes
- Integrate with existing accounting/Enterprise Resource Planning (ERP) systems
- Provide bespoke solutions for local, regional, and international transactions

To know more about AzamPay, visit the AzamPay website.
Before we get started
There are a few prerequisites before intergrating with AzamPay:
- A Sarufi bot. If you don’t have one, you can click here to create one.
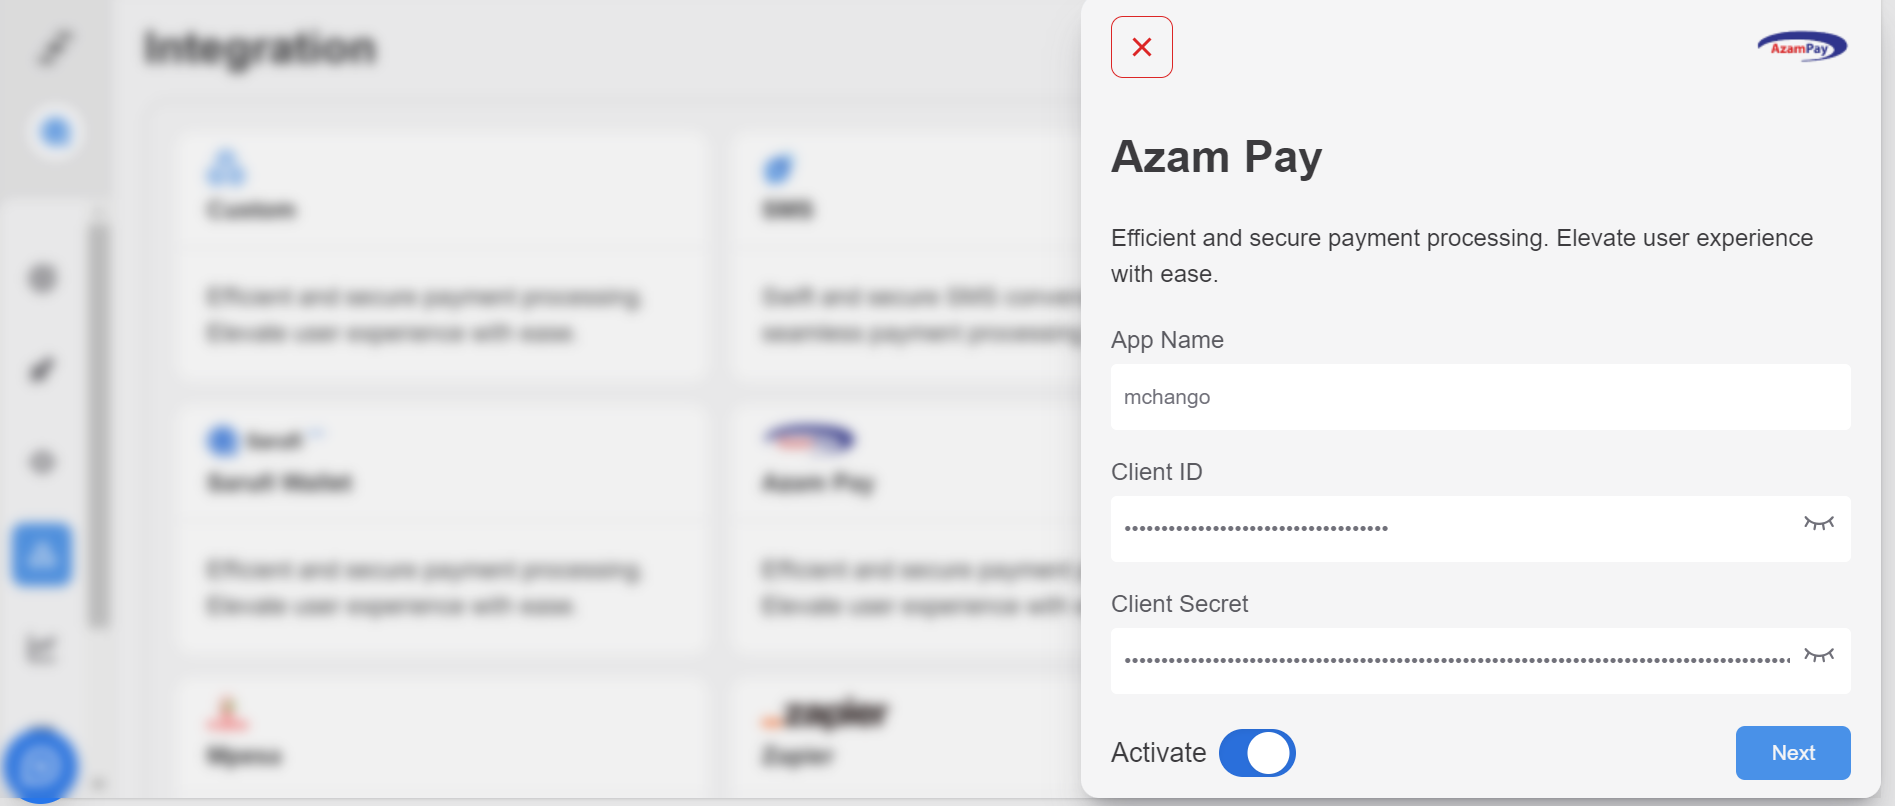
- Integration credentials provided by AzamPay. These are used for integrating AzamPay services into your application. They consist of the following:
- App name
- Client ID
- Client Secret
Interface Overview
The AzamPay integration interface consists of the following components:
| Components | Description |
|---|---|
| App Name | Enter the name of your application. |
| Client ID | Enter the client ID provided by AzamPay. |
| Client Secret | Enter the client secret provided by AzamPay. |
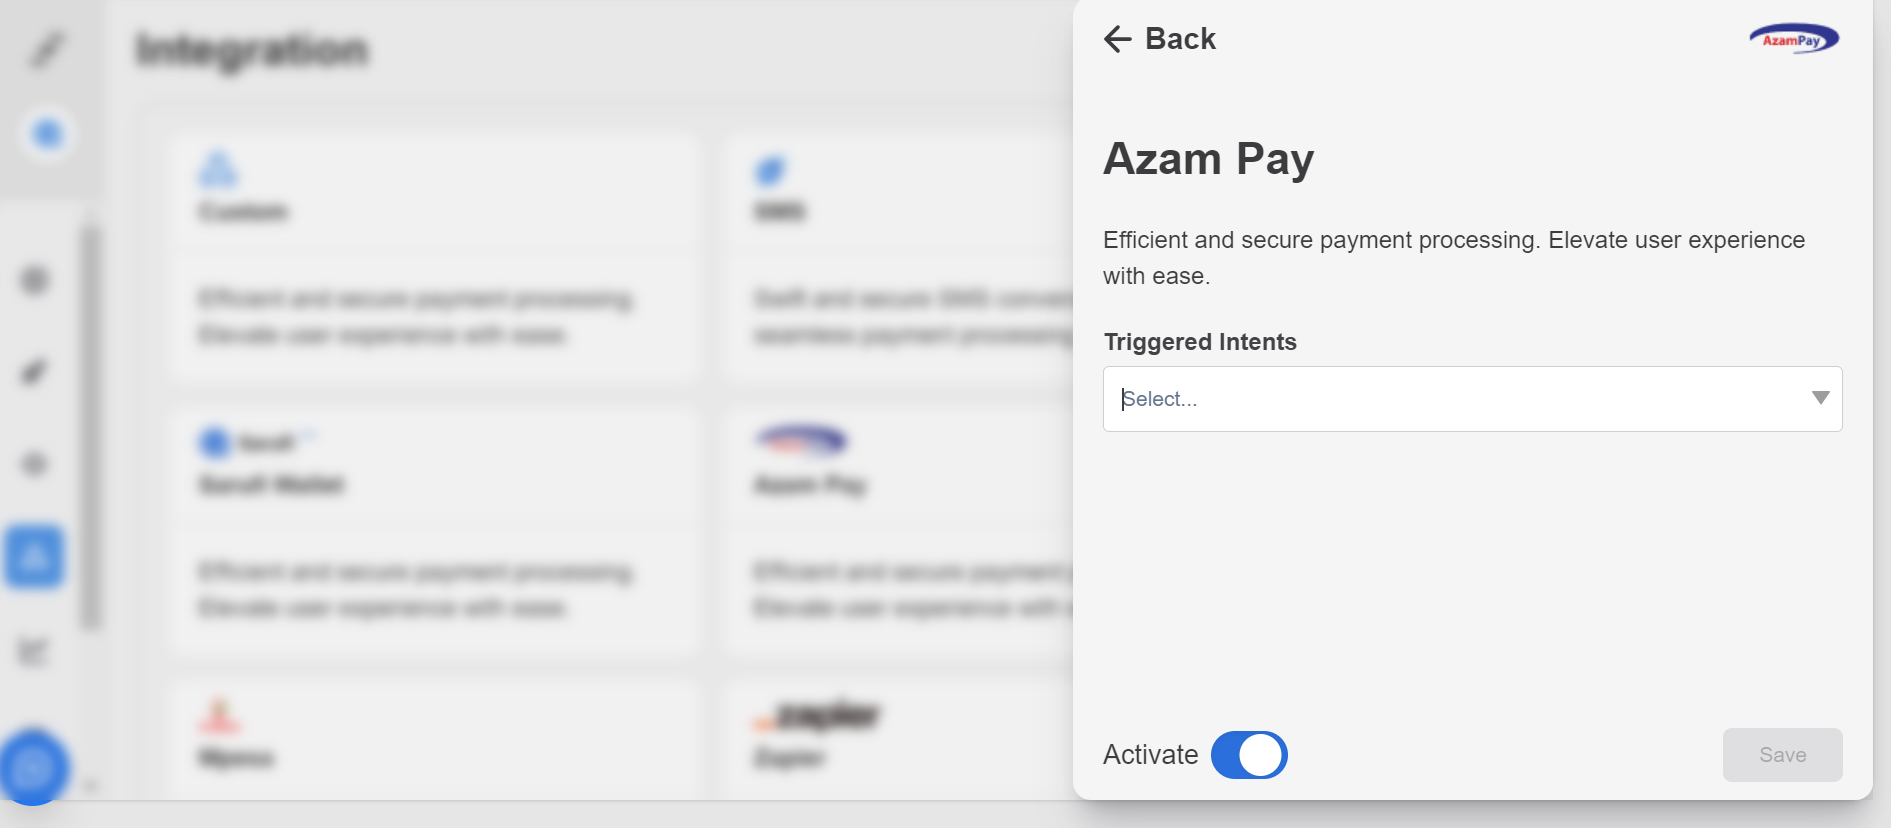
| Triggered Intents | Select the intents that will trigger AzamPay functionality. |
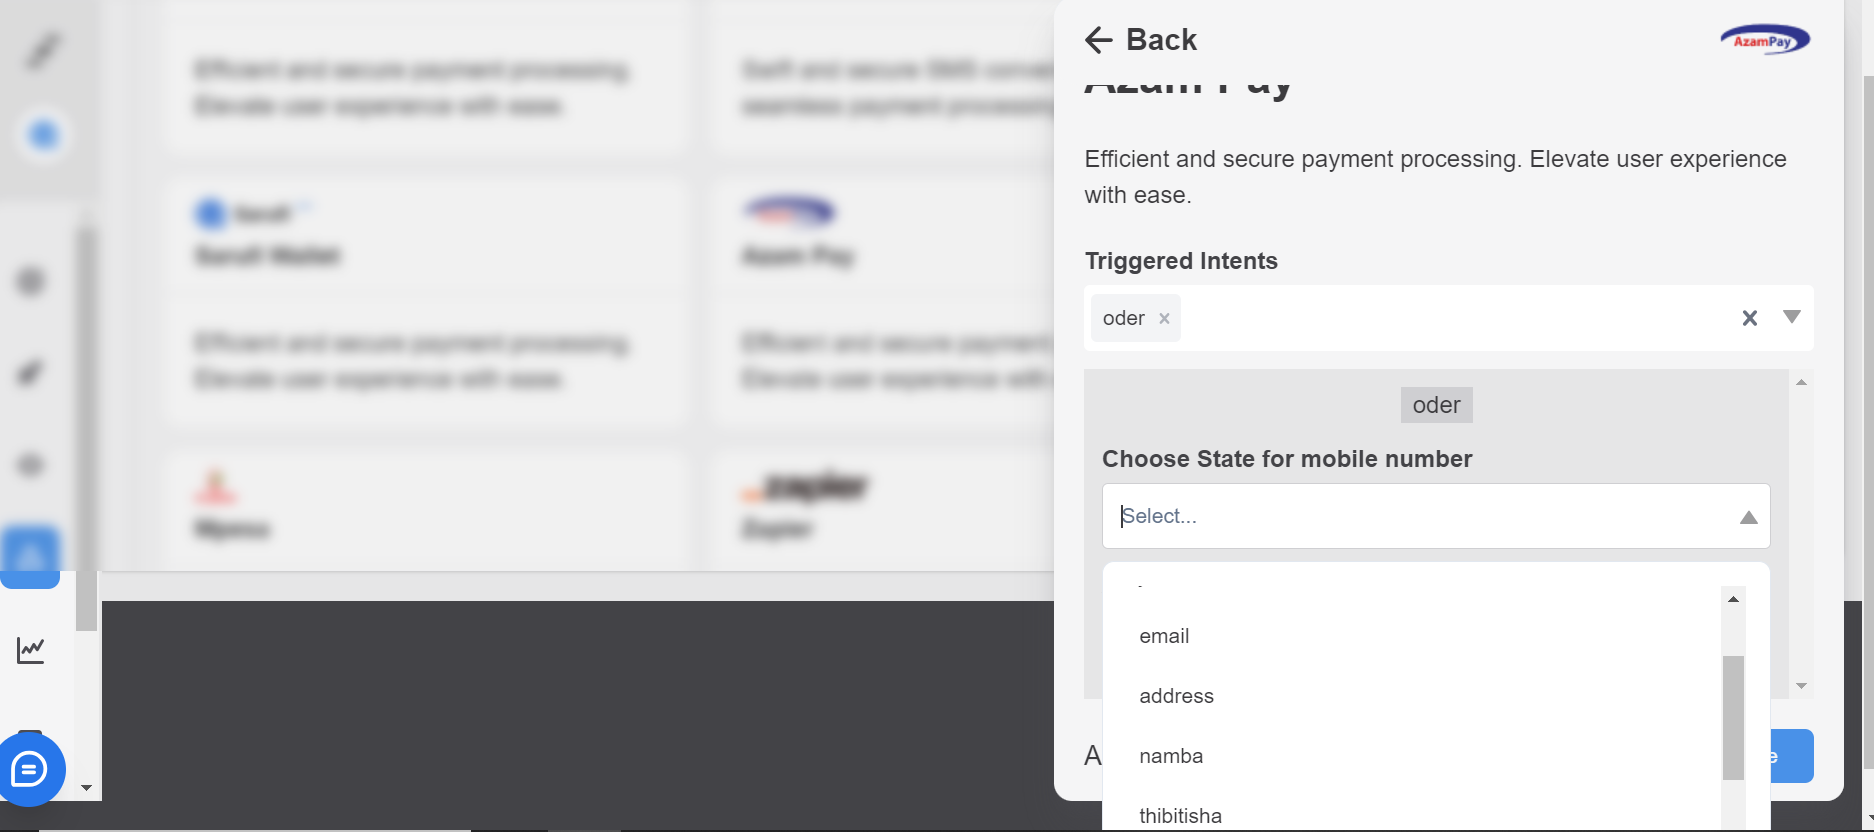
| Mobile Number | Select the state for the mobile number associated with the payment. |
| Amount | Enter the amount to be paid via AzamPay. |
| Activate Toggle | Toggle to activate or deactivate the AzamPay integration. |
| Save Button | Click to save the AzamPay integration settings. |
Step-by-Step Integration Guide
Follow these steps to integrate AzamPay into your application:
1: Access AzamPay Integration Interface
Login to Sarufi dashboard and navigate to the AzamPay integration section.
2: Enter App Name, Enter Client ID, Enter Client Secret
Enter the name of your application, the AzamPay Client ID and the AzamPay Client Secret.
Click "Next" to proceed.
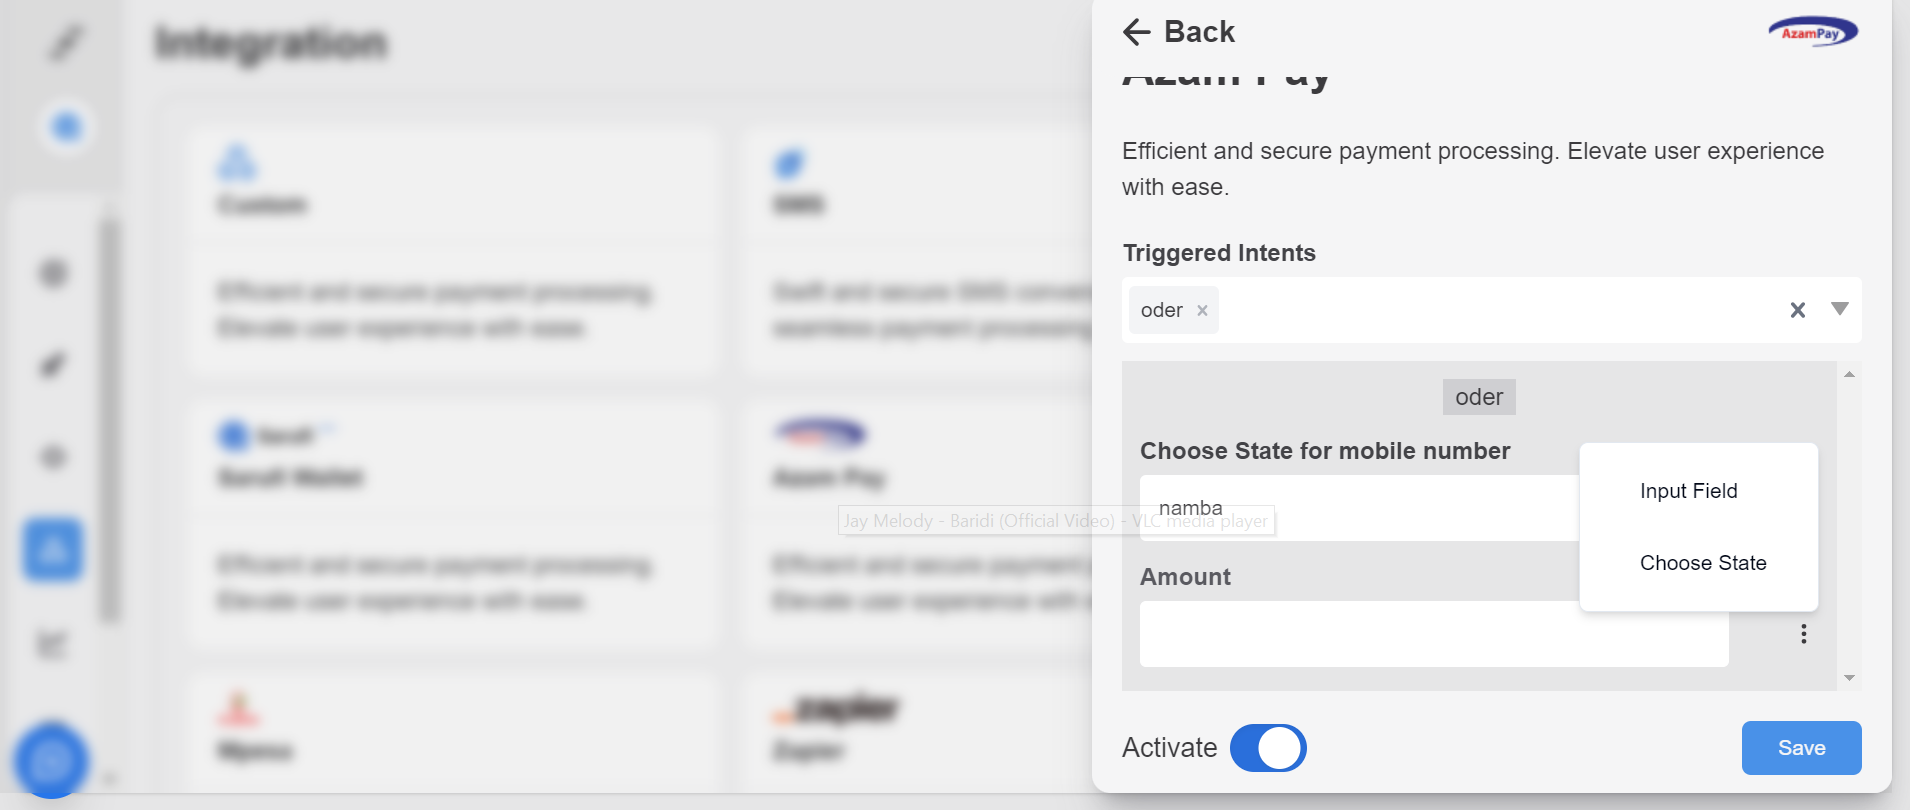
3: Select Triggered Intents
Select the intents that will trigger AzamPay functionality. You'll need to identify and define these intents based on the user interactions you want to enable for payments through AzamPay. By selecting the relevant triggered intents, you ensure that AzamPay's payment features are integrated into your application's user experience, aligning with the actions users want to take when making payments.
4: Choose State for Mobile Number
Select the state for the mobile number associated with the payment. Users may select their state from a dropdown menu.
5: Enter Amount
Enter the amount to be paid via AzamPay. Here you can enter the amout manual or choose the state for the amount.
6: Activate Azam Pay Integration
Toggle the switch to activate the Azam Pay integration. When activated, users will be able to make payments using AzamPay within your application.
7: Save integration
Click the "Save" button to save your Azam Pay integration settings. Ensure that all configurations are correctly saved before proceeding.
Testing
After configuring the AzamPay integration settings, test the payment functionality to ensure that users can make payments using AzamPay within your application.