M-PESA integration
M-PESA
M-PESA is Africa's most successful mobile money service and the region’s largest fintech platform. M-PESA is the preferred way to make payments across the continent both for the banked and unbanked due to its safety and unmatched convenience. It also provides financial services to millions of people who have mobile phones, but do not have bank accounts, or only have limited access to banking services.
To know more go to M-PESA developer portal here.
Before we get started
There are a few prerequisites for intergrating with M-PESA:
- A Sarufi bot. If you don’t have one, you can click here to create one.
- Register for M-PESA API Access:
- Visit the M-PESA developer portal and sign up for an account here.
- Follow the registration process to obtain access to the M-PESA API.
- Obtain API Credentials: obtain the necessary API credentials for integration.
- API key
- Public key
- Service code
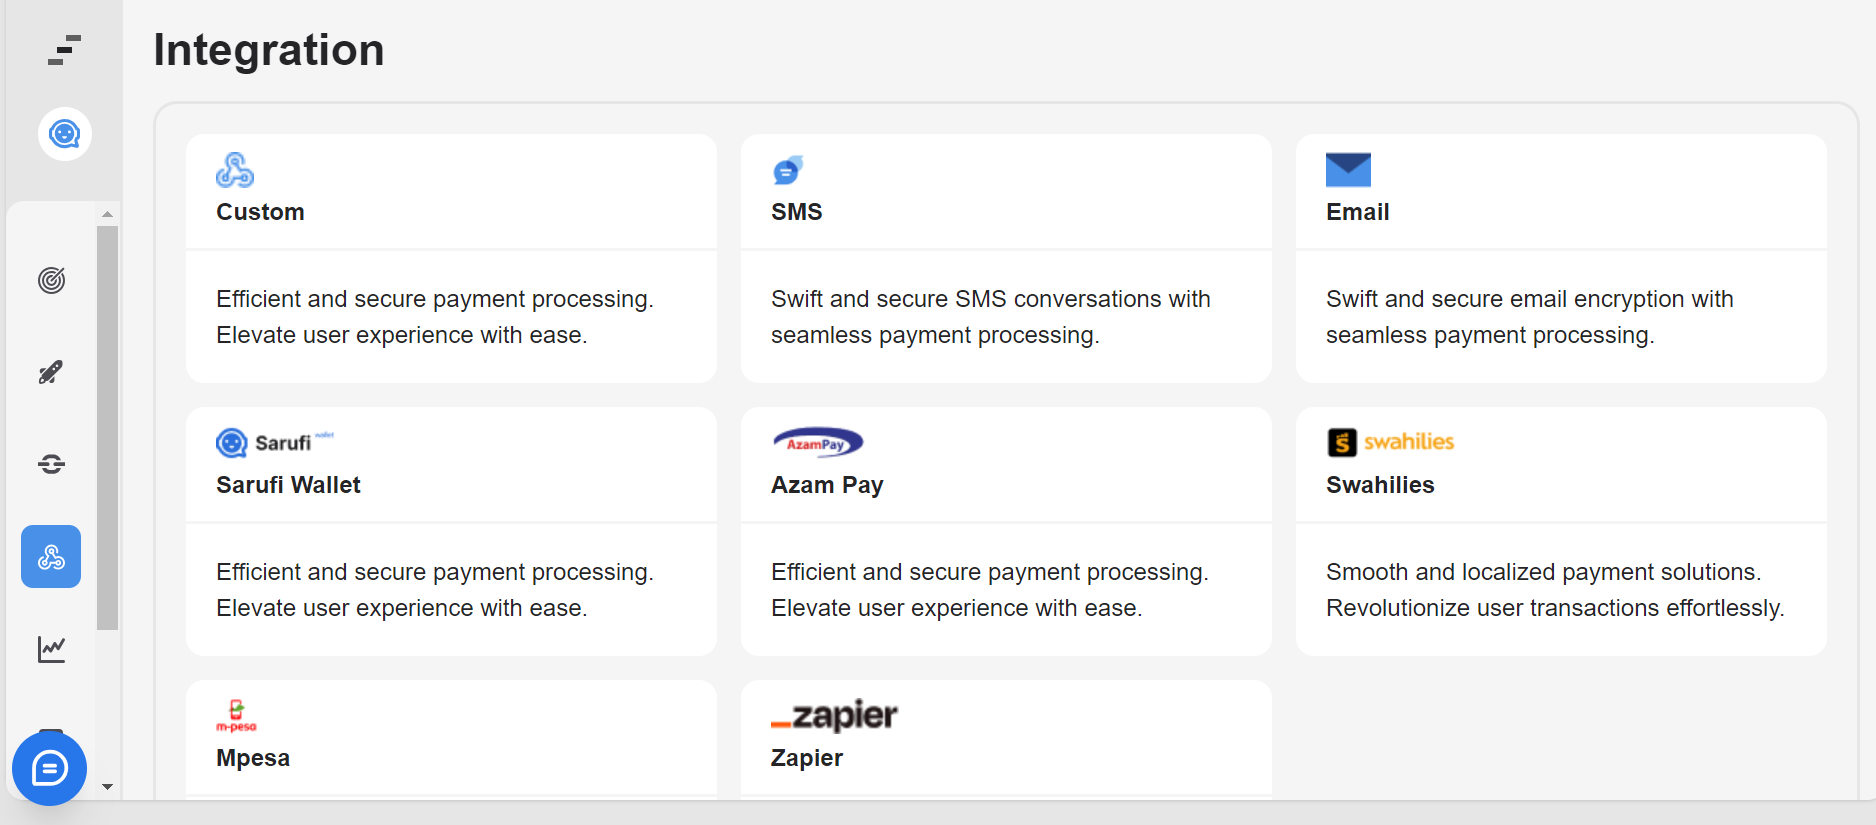
Interface Overview
The M-PESA integration interface consists of the following components:
| components | Description |
|---|---|
| API key | Enter the API key provided by M-PESA |
| Public key | Enter the public key provided by M-PESA |
| Service code | Enter the service code provided by M-PESA |
| Triggered intent | Specify the intents that will trigger M-PESA payment |
| Choose state for mobile number | Select the state for the mobile number associated with the payment |
| Amount | Enter the amount to be paid via M-PESA |
| Activate | Toggle to activate or deactivate the Mpesa integration |
Step-by-Step Integration Guide
here's a step-by-step guide for integrating M-PESA into your application:
1: Access M-PESA Integration Interface
Login to the Sarufi dashboard and navigate to the M-PESA integration section.
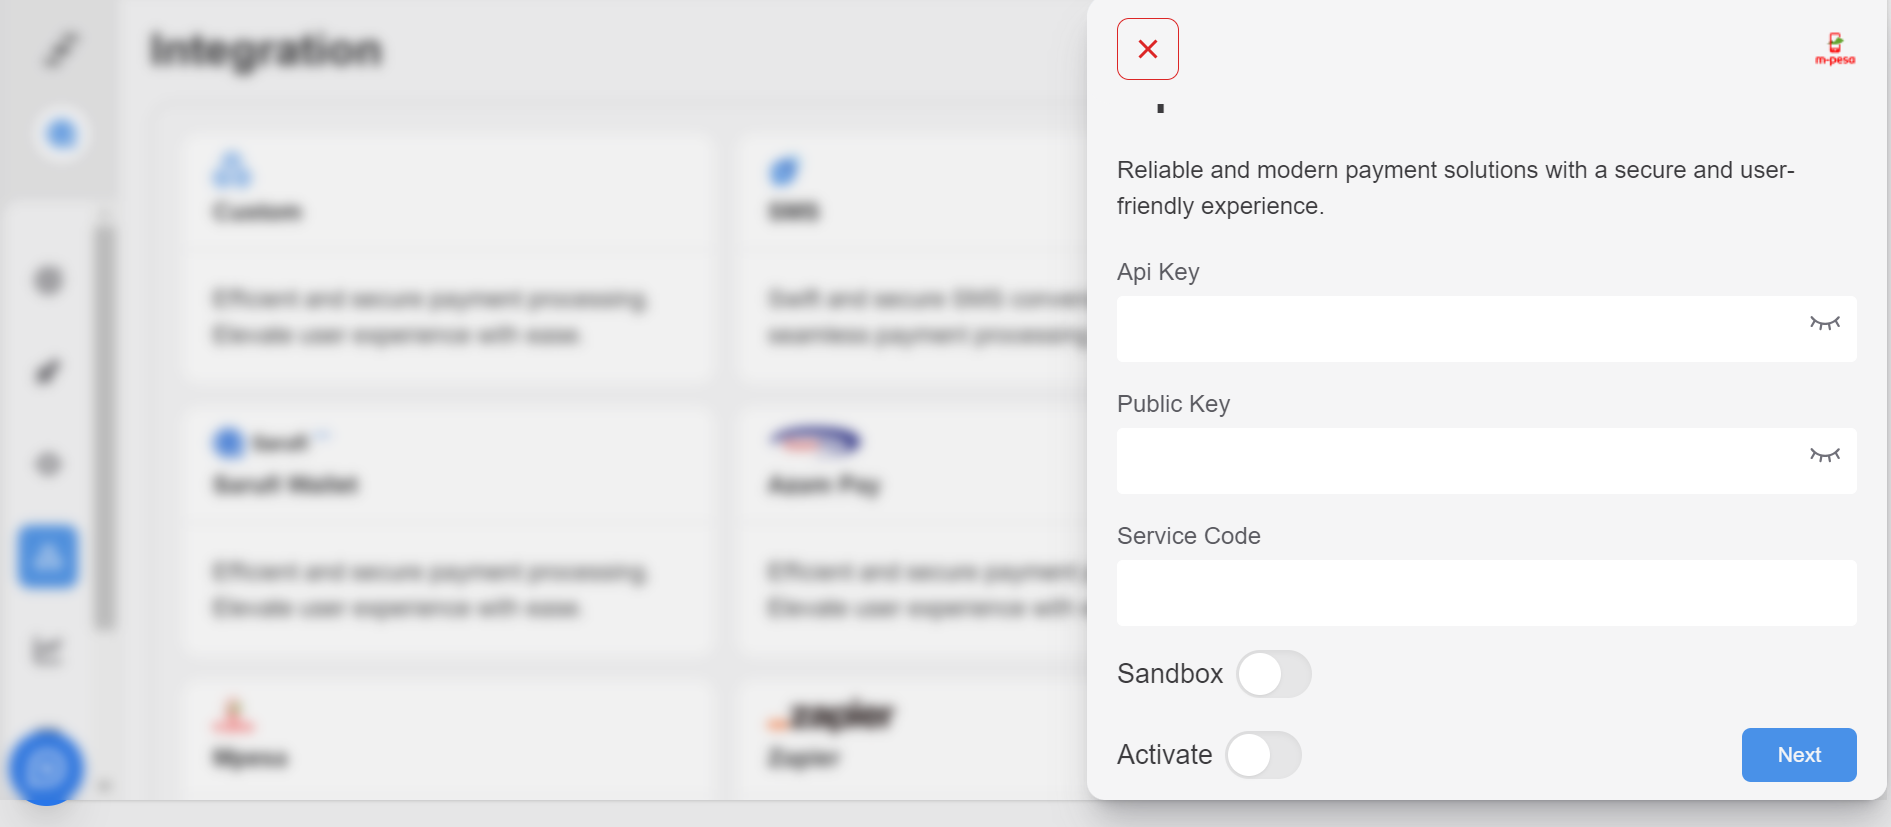
2: Enter Credentials
Enter the API key and public key provided by M-PESA. These credentials are necessary for authenticating your application's requests to the M-PESA API. Enter the service code provided by M-PESA. This code identifies the specific service or transaction type you are integrating with M-PESA.
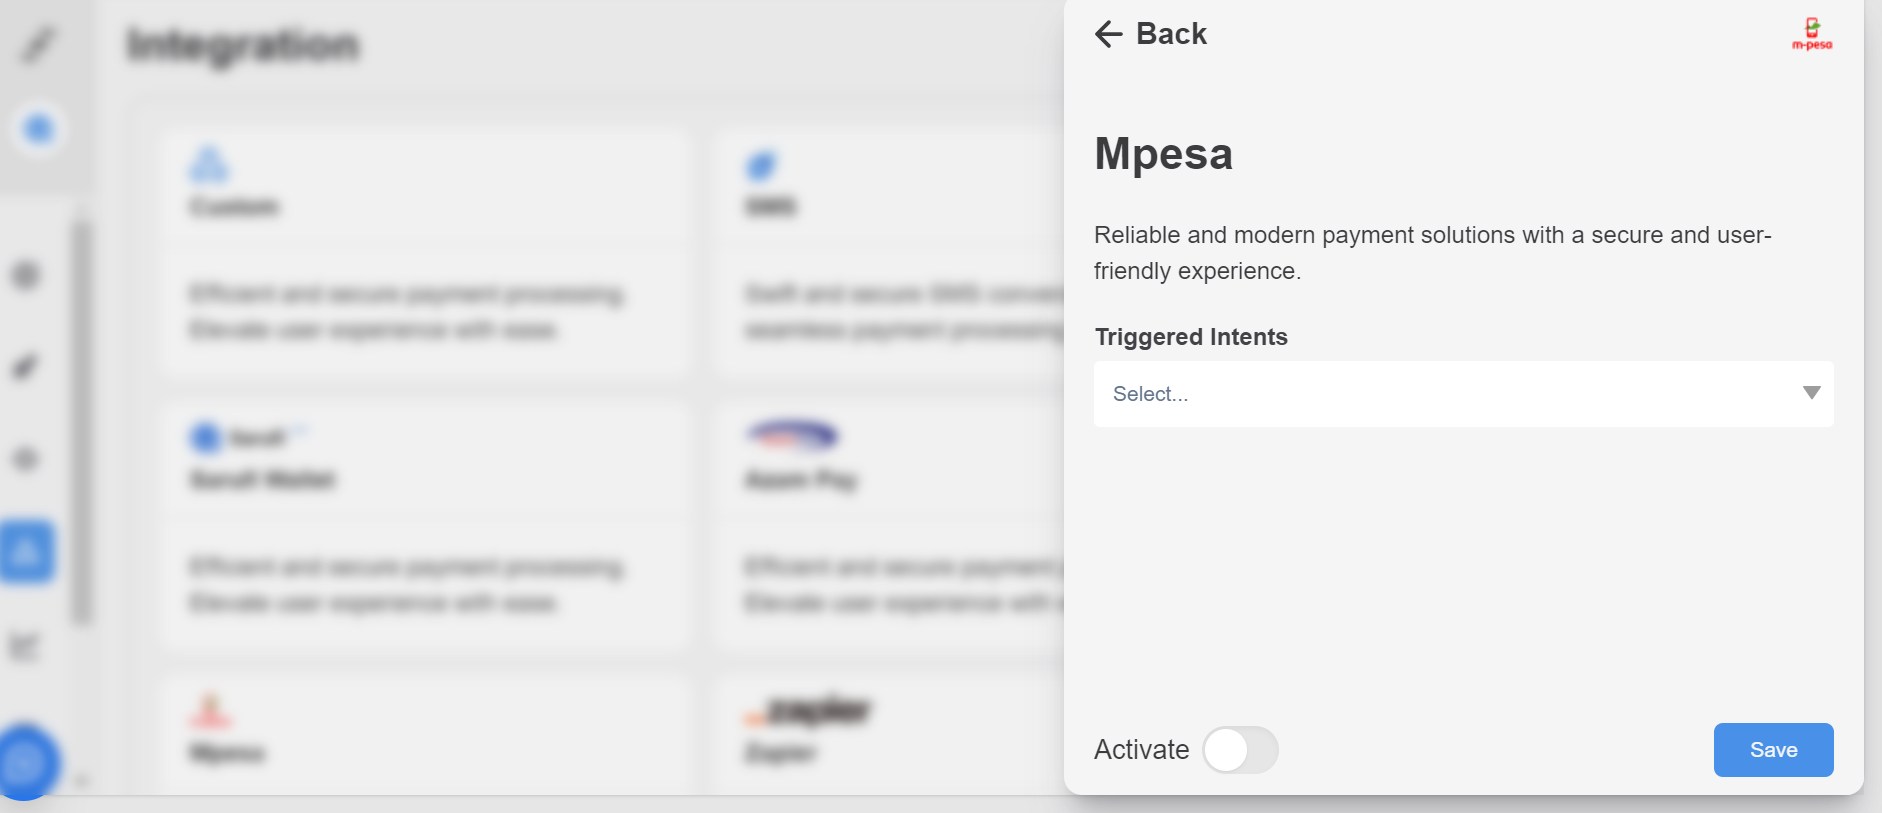
3: Configure Triggered Intent:
Specify the intents within your chatbot which will trigger M-PESA payments. These are the actions or user inputs that will prompt the chatbot to initiate a payment transaction.
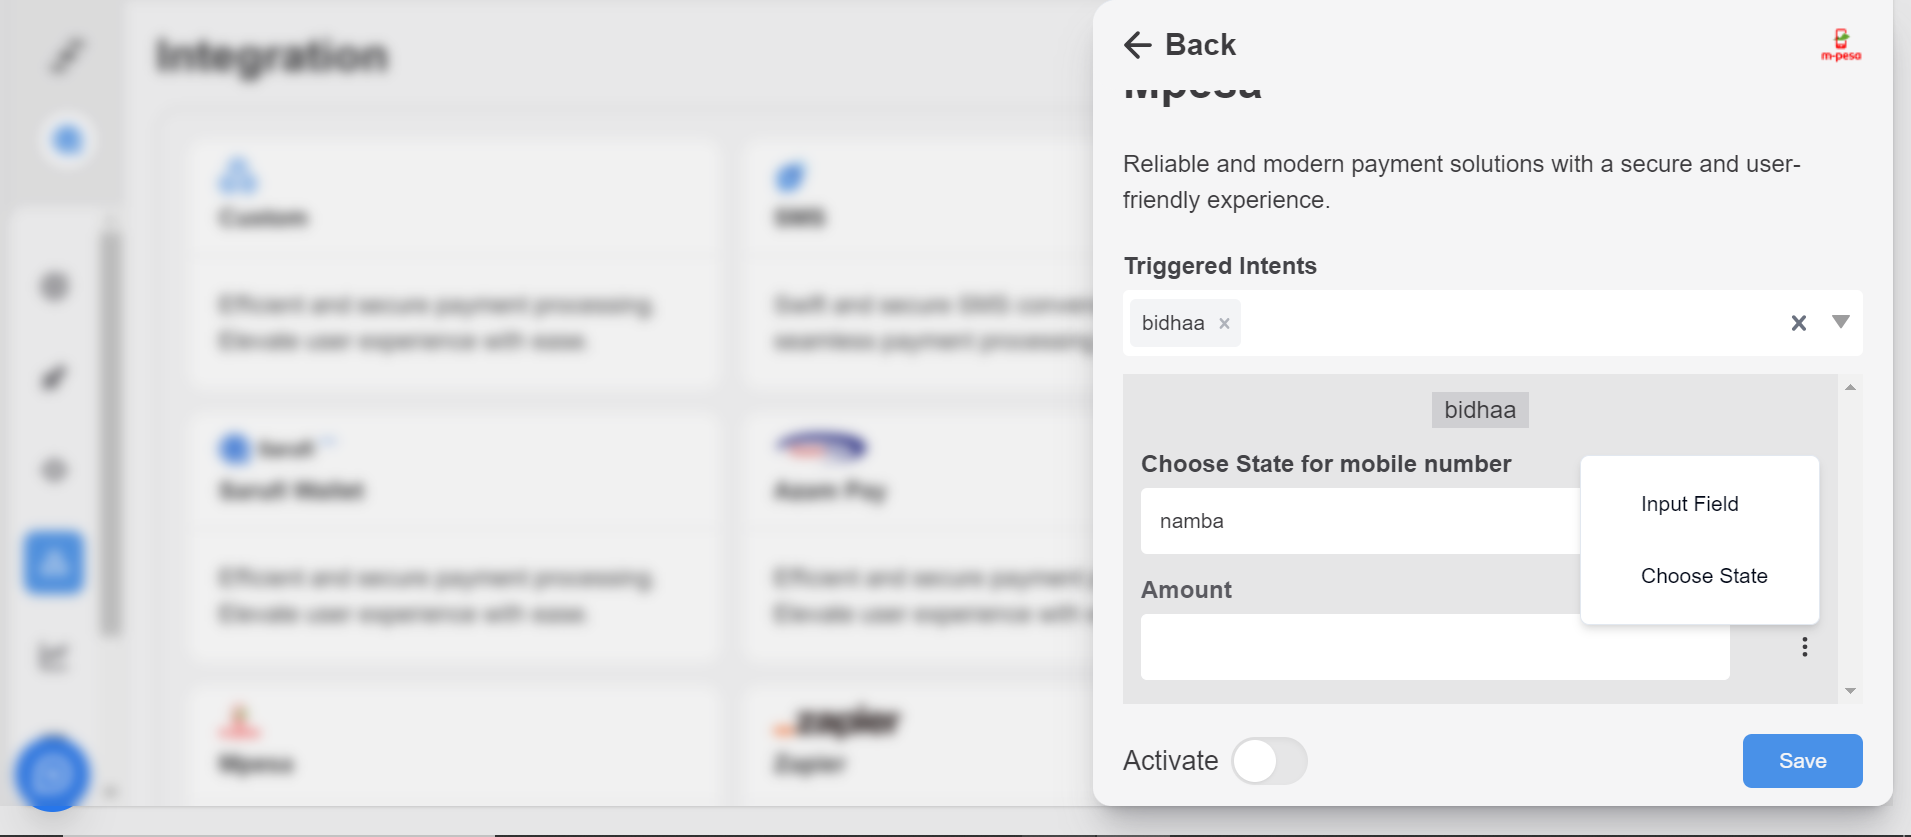
4: Choose State for Mobile Number:
Select the state for the mobile number associated with the payment. This ensures that the payment is processed correctly and that the user receives the payment confirmation.

5: Enter Amount:
Enter the amount to be paid via M-PESA. Here you can enter the amount manually or choose the state for the amount.
6: Activate M-PESA Integration
Toggle the activation switch to activate or deactivate the M-PESA integration in your application. Activation is necessary for the integration to be functional.
7: Save integration
Click the "Save" button to save the M-PESA integration settings. Ensure that all the required information is correctly entered before saving to ensure smooth integration.
Testing
After configuring the M-PESA integration settings, thoroughly test the payment functionality to ensure that users can make payments using M-PESA within your application.