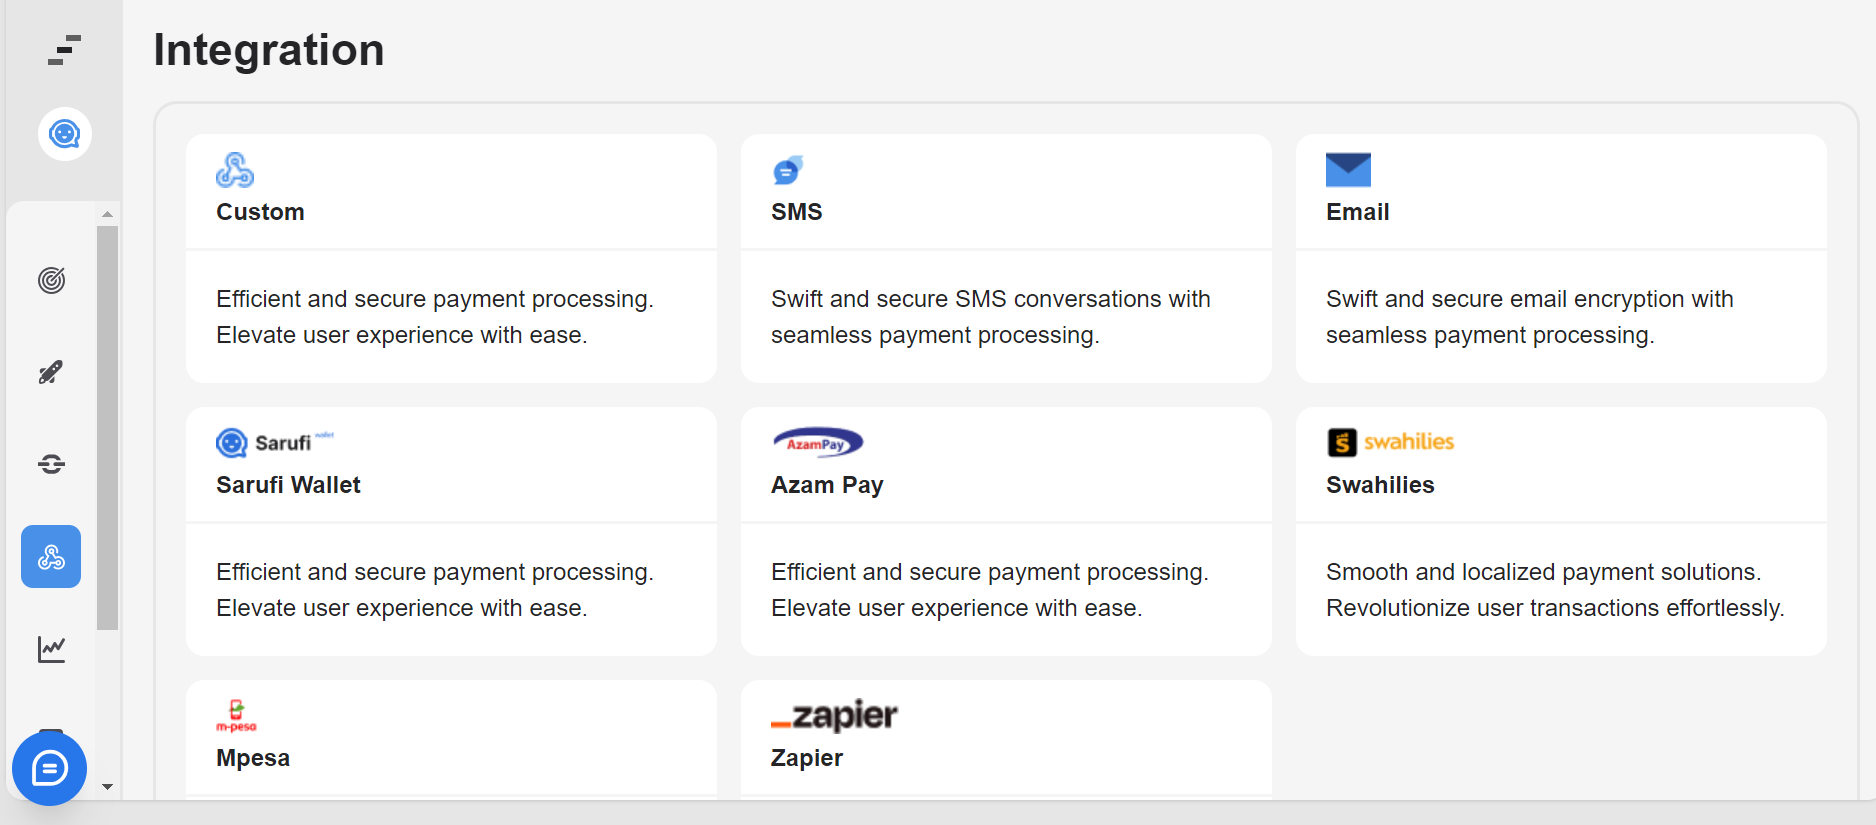
Email integration
Email integration allows your chatbot to send and receive emails, enabling communication with users via email. It allows your chatbot to send emails in response to specific user interactions. With this functionality, you can enhance the communication capabilities of your chatbot and provide users with important notifications or updates via email.
Interface Overview
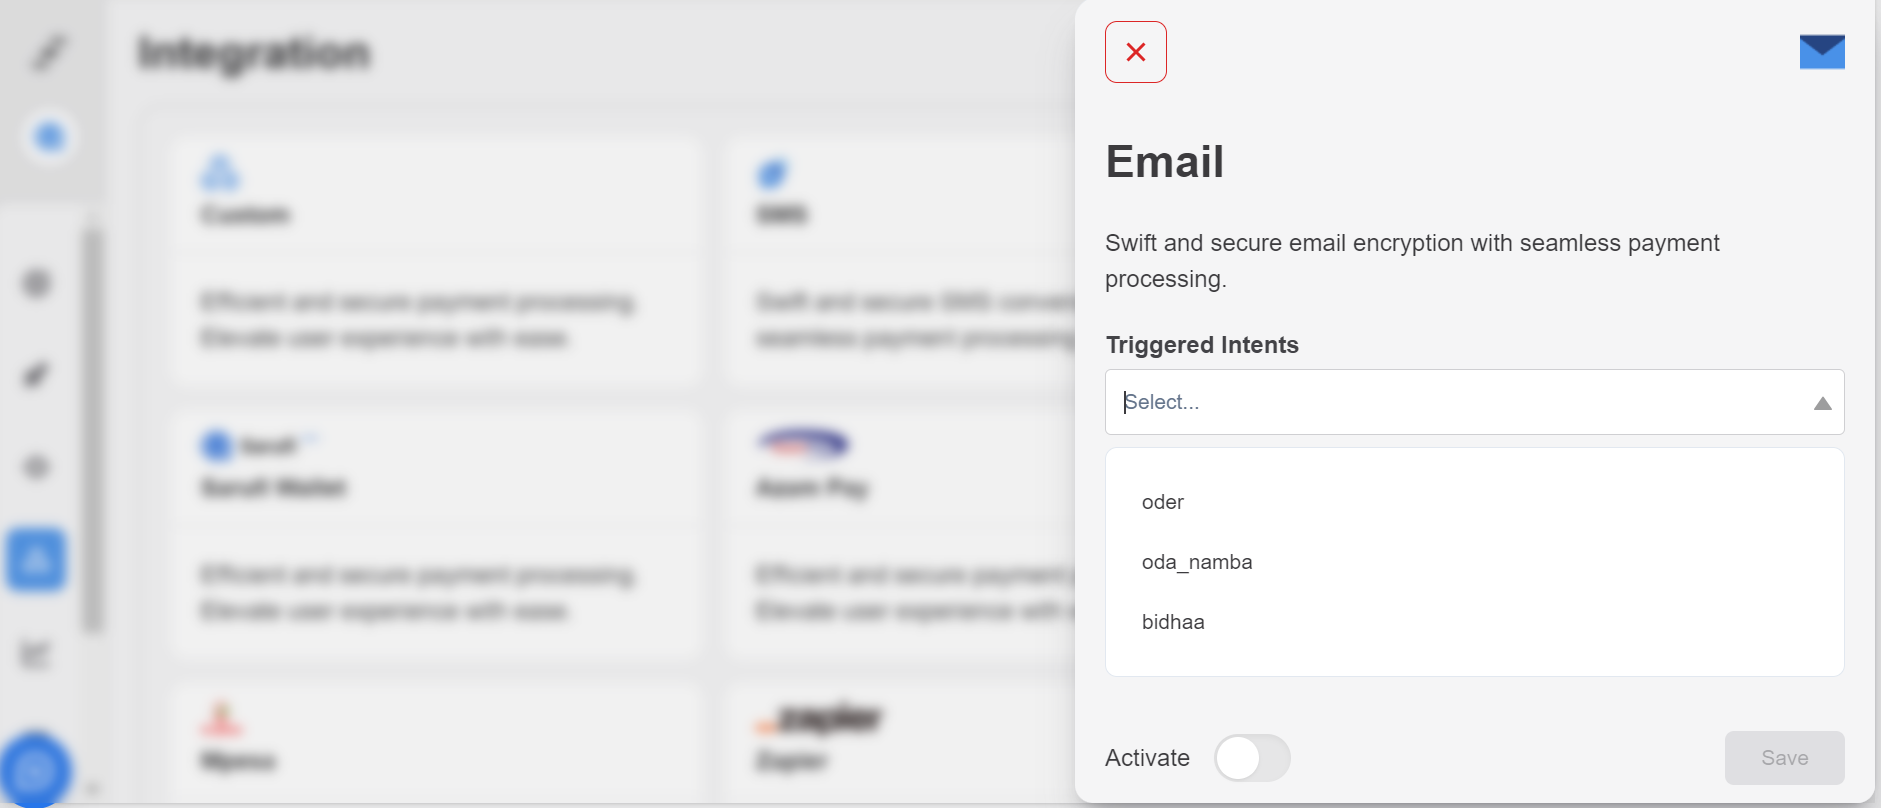
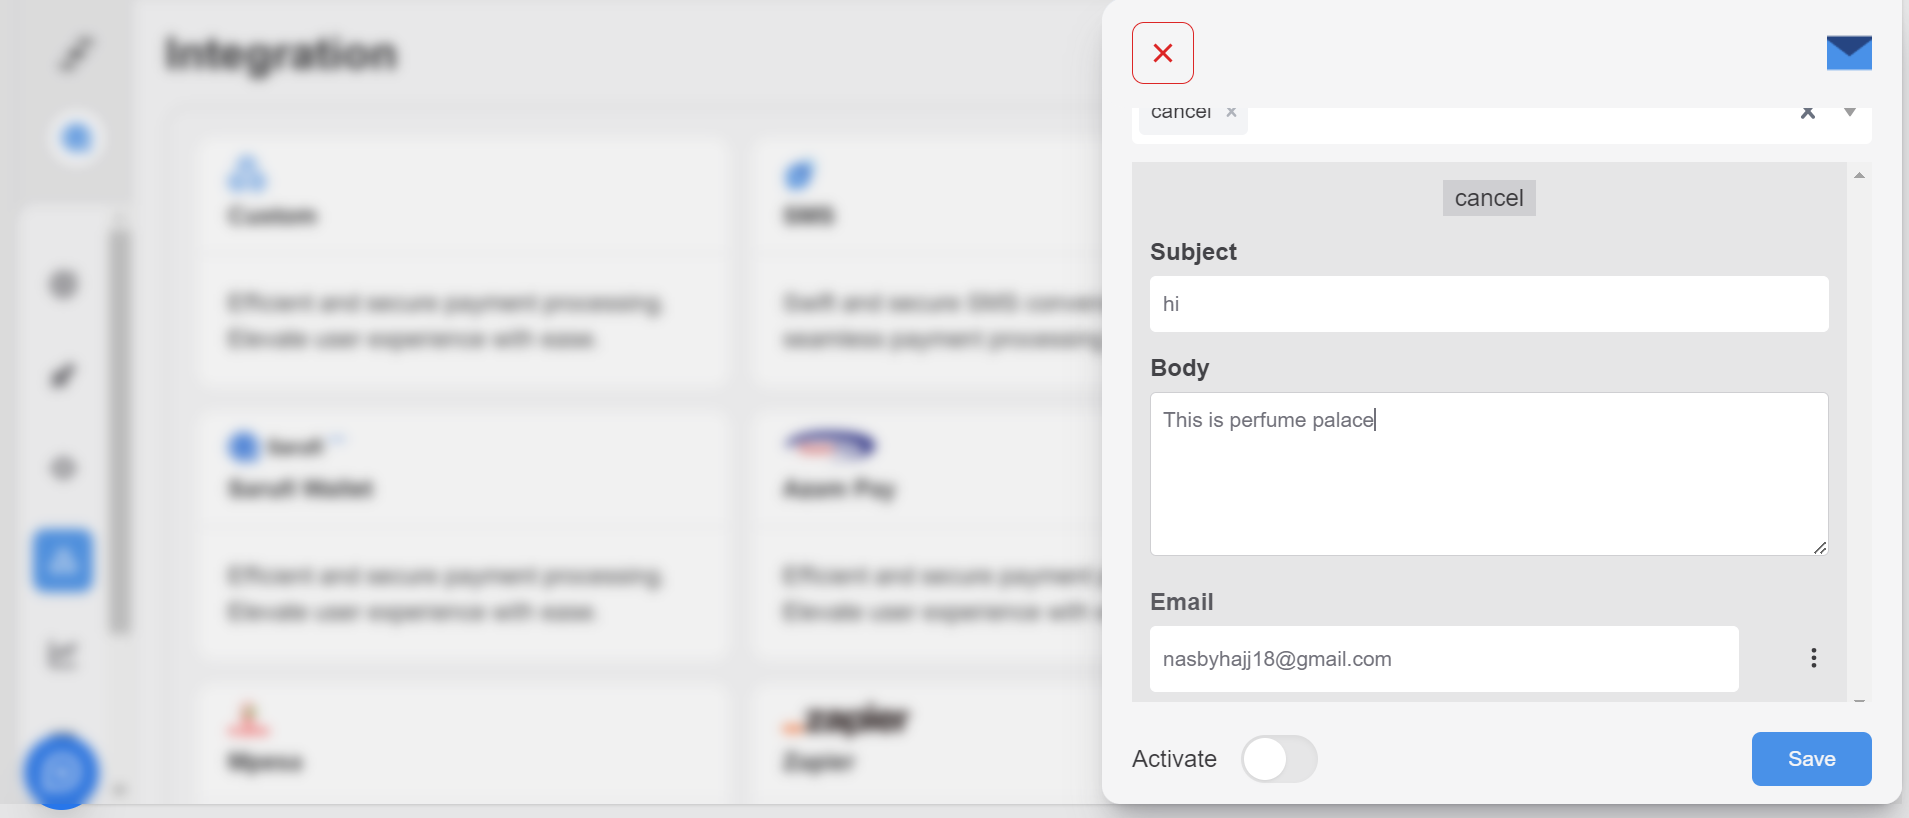
The email integration interface consists of the following components:
| Components | Description |
|---|---|
| Triggered Intents | Select the intents that will trigger the email functionality. |
| Subject | Enter the subject line for the email. |
| Body | Enter the main content of the email. |
| Activate Toggle | Toggle to activate or deactivate the email integration. |
| Save Button | Click to save the email integration settings. |
Step-by-Step Integration Guide
Follow these steps to integrate email functionality into your chatbot:
1: Access Email Integration Interface
Log in to your chatbot platform and navigate to the email integration section.

2: Configure Triggered Intents
Select the intents that will trigger the email functionality. These are the actions or commands from the user that will prompt the chatbot to send an email.

3: Enter Email Details
Enter the subject line and body of the email. Customize these fields based on the information you want to include in the email message.
4: Enter Recipient's Email Address
Enter the email address of the recipient to whom the email will be sent. Here you can input the email or choose from the state

5: Activate Email Integration
Toggle the switch to activate the email integration. When activated, the chatbot will send emails based on the specified intents, subject, and body.
6: Save Settings
Click the "Save" button to save your email integration settings. Ensure that all configurations are correctly saved before proceeding.
Testing
After configuring the email integration settings, test the functionality to ensure that emails are sent correctly in response to the specified intents.